I get asked this question all.the.time ;) How to insert a video into an image mockup or screen mockups…so I created a photoshop video tutorial for you! It’s about a 7-minute video, but I’ll also pop in the steps below. And, in case you are wondering that means, you’ll notice I do this often in my Instagram posts (like below). It’s basically placing a scrolling screen video (that you record) and inserting it into a smart object image or mockup in photoshop!

Insert a Video Into An Image Mockup
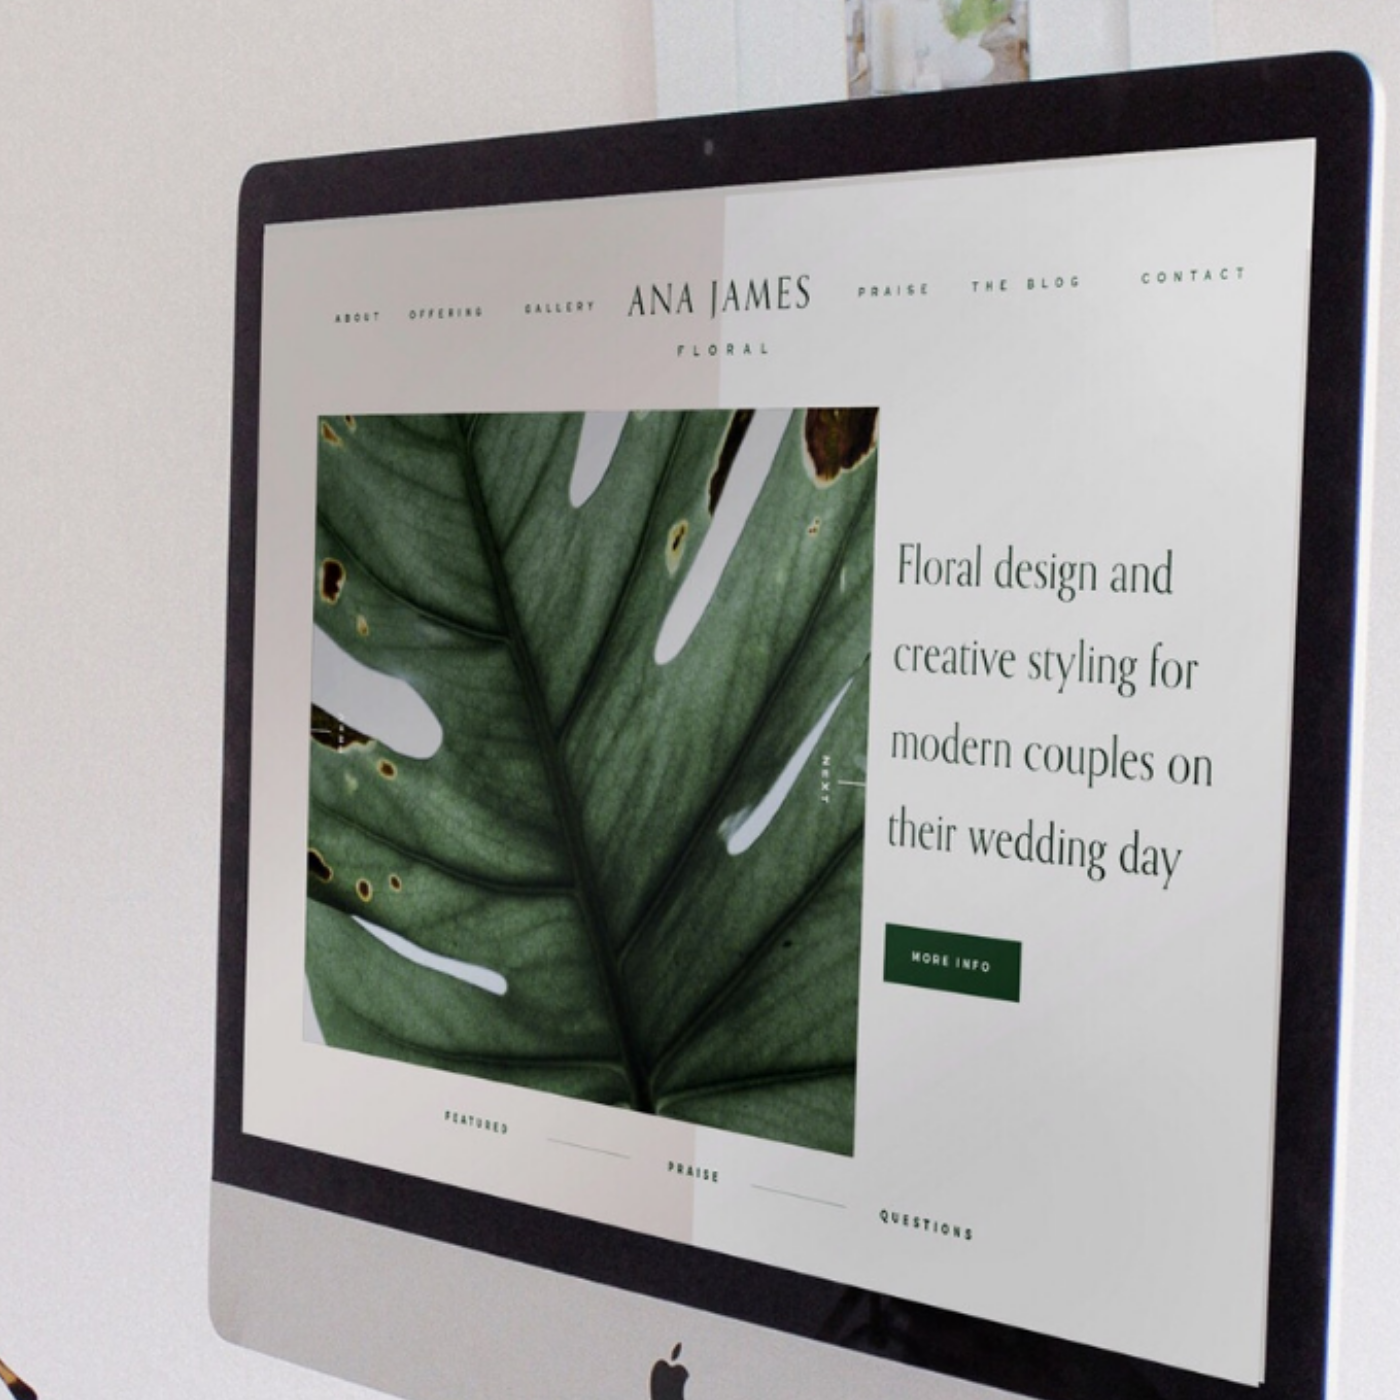
01. Choose a large image or mockup
This image will be used to place your video into, I recommend choosing one around 2,000px. You can always change the size after or export it smaller.
02. Record your screen scroll
I use screenshot on my mac or Quicktime. You can also use screencastify or UseLoom which are chrome extensions. Either way, just record yourself scrolling through the screen and export as MP4.
03: Create Smart Object in Photoshop
Back in photoshop, create a rectangle box that is the size of the screen/video you just recording (ie: iphone = 1080×1920). Before you size it down to fit the image, go to your layers panel, right click and choose “CREATE SMART OBJECT”
04: Create a Video Timeline:
You can now go to ‘WINDOW’ at the top of photoshop and find ‘TIMELINE’. This will appear at the bottom and just tap on ‘Create Video Timeline’ – which will turn the layers into a video
05: Edit the Smart Object
Now under the layers, select and double tap on the smart object within the layer. This will open up that object into a new tab window in photoshop.
06: Place the video
Go ahead and drop or ‘file – place’ the video you just created right into photoshop. You can even drag the corner and re-size to fit the actual rectangle/window you created. * NOTE: the background rectangle color should be black if you choose to set an opacity (80-90%) on the video to look more realistic *
07: Create a Timeline
You should have that video timeline window open, so go ahead and again click “CREATE VIDEO TIMELINE”. You’ll see 2 layers again, and just make sure that the background color/layer is the same length as the video. When done, HIT SAVE and close that tab window.
08: Edit and Export
Now that you are in the mockup/image again you’ll see the video placed within the rectangle screen. First: Make sure the video layer is long enough (you may have to drag it to the right to extend the video) and make sure any other layer matches it’s length.
OPTIONAL: You can add a ‘Layer style’ to the video smart object layer by double-clicking on the layer. From there you can create a transparency overlay and even a texture/pattern overlay to look more realistic.
When done editing, go to “FILE” – “EXPORT” – “RENDER VIDEO”. You can choose your quality, size, etc. It might take a while, but you’ll be good to go!
Share the Love & Pin For Later…


Thank you for this! I just created an animated screenshot for my Instagram feed and it works!!
Awee yayayayy!!!
This is amazing! I’ve been wondering how to do this. Thank you so much! You are awesome ;)
Amazing! 😍👌
Hi! Thanks so much for this video- I’ve searched EVERYWHERE online and couldn’t find one! I’m having troubles with my photoshop lagging when I try to play the video. It’s so slow that I can’t even get it to fully play. I used Quicktime to screen record and I believe I have enough storage so I’m not sure what the issue could be! :(
My lags to when previewing the play, but when I export it as a video mp4 it’s just fine!
thanks
Thank you for this! I just created an animated screenshot for my Instagram feed and it works!!
Thank you !!!!! I was having trouble finding a video that helped me do this! This helps alot!